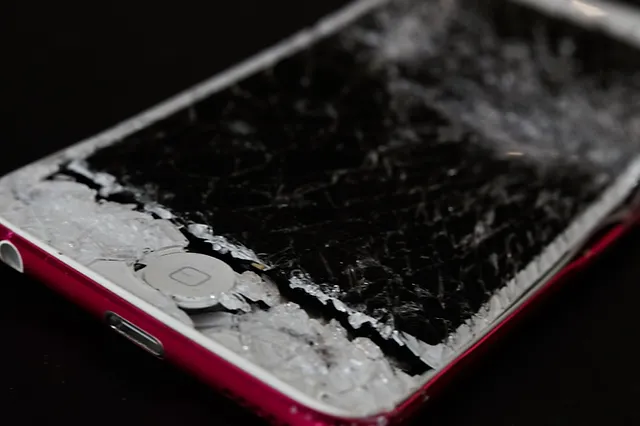
To start the process of repairing a water-damaged iPod in Chatham-Kent, ON, start the power of the iPod immediately. Then, remove any external accessories and wipe off visible moisture with a dry cloth. After that, come to the disassembly process, in which you have to collect the necessary tools, open the iPod case, and disconnect the battery.
Following this, dry the iPod with the rice immersion technique and by using silica gel packets or a vacuum chamber. Then, you have to clean its components with soft brushes for connectors and ports. The last step is to reconnect all the components by securing the iPod case, powering it on, and testing its functionality.
To learn more about all these steps, keep reading!
Steps To Fix A Water-Damaged iPod
If you want to begin the repairing process of your water-damaged iPod in Chatham-Kent, ON, follow these steps.
Signs Of Water Damaged iPod
Before going ahead, let’s take a look at some signs of water damage to the iPod first.
- Unresponsive Touch Screen
One of the first signs of water damage is a touch screen that becomes erratic or completely unresponsive. If your taps and swipes respond in silence, water damage might be the culprit.
- Distorted Or Muted Sound
Water seeping into the speakers can lead to distorted or muted sound quality. If your iPod suddenly sounds like it’s underwater, it probably is.
- Visible Water Indicators
Most iPods come with water-sensitive indicators. If these signals change color upon contact with water, it’s a clear sign that the device has been exposed to water.
What Are The Initial Steps To Follow?
So, the first step towards repairing your iPod is to act swiftly and follow the underlying steps.
- Power Off The iPod Immediately
The first rule of thumb is to power off your iPod as soon as possible. This step minimises the risk of a short circuit and further damage.
- Remove Any External Accessories
Disconnect headphones, cases, or any other external accessories attached to your iPod. This step ensures better air circulation during the drying process.
- Wipe Off Visible Moisture With A Dry Cloth
After removing external accessories, gently wipe off any visible moisture on the surface of your iPod with a dry cloth. You should avoid using excessive force, as it may push water deeper into the device.
Disassembly Process: The Next Step
- Gathering Necessary Tools
Before diving into the disassembly process, gather the necessary tools, including screwdrivers, spudgers, and a clean workspace.
- Opening The iPod Case
Carefully open the iPod case. For this, follow the device-specific instructions for your model. Use plastic tools to avoid scratches or additional damage.
- Disconnecting The Battery
To prevent electrical mishaps during the drying process, disconnect the battery. This step is crucial in ensuring your safety and the device’s well-being.
It’s Time For Drying Methods!
- Rice Immersion Technique
Place your disassembled iPod in a container filled with uncooked rice. Rice acts as a natural desiccant, absorbing moisture from the device.
- Silica Gel Packets
An alternative to rice is silica gel packets, often found in packaging. So, place your iPod and silica gel packets in an airtight container for optimal results.
- Use of A Vacuum Chamber
For a more advanced approach, consider using a vacuum chamber to remove moisture from the internal components. This method requires specific equipment but can be highly effective.
Cleaning Components
- Soft Brushes For Connectors And Ports
Clean connectors and ports with soft brushes to remove any residue. Be thorough but gentle to avoid causing additional damage.
Reassemble Your iPod
- Reconnecting Components
Once the drying and cleaning processes are complete, carefully reconnect all the components. For this step, follow the disassembly steps in reverse to ensure proper reassembly.
- Securing The iPod Case
Close the iPod case securely, making sure all screws are tightened. This step is crucial to protect internal components from external elements.
- Powering On And Testing Functionality
Power on your iPod and test its functionality. Check the touch screen, sound quality, and overall performance to ensure the repair was successful.
You Can Also Take Professional iPod Repair Services!
If all this is out of your control, then without wasting your time, contact the techs at Icelltech. They will offer fast, affordable, and dependable iPod repairs that will make you enjoy your music again without interruption. To learn more about their services, visit their website now.
Conclusion
So these were all the steps to repair your iPod from water damage. But as a precaution is always better than cure, you should take preventive measures like using waterproof cases and covers and handling your iPod around water sources carefully.
FAQs
- How Long Does It Take To Repair A Water-Damaged iPod?
The repair duration depends on the extent of the damage. You have to follow the outlined steps patiently for the best results.
- Can You Use A Hairdryer To Speed Up The Drying Process?
Avoid using a hairdryer, as it may cause additional harm. Instead, opt for safer drying methods like rice or silica gel.
- Is It Worth Repairing An Older iPod Model?
The decision to repair an older iPod model depends on the extent of the damage. Evaluate the cost and benefits before deciding.

